Friday, June 1, 2012

We really tried to resist...

If you aren't a fan of the Fifty Shades of Grey series (or are offended by its content) then I would stop reading now.  If you are smiling at your screen thinking about Christian Grey then by all means, stay with me.  Rachel and I have an ongoing debate about who should play Fifty in the movie version.  No living actor lives up to the vision in my head.  Ryan Gosling keeps popping up on various gossip  news sites as being a front runner for the role.  Just to tease Rachel and to show off my Microsoft Publisher skills, I created this today....


And that's why I'm totally not feeling Ryan Gosling!

Xoxo,
Marlene Pin It

Thursday, May 31, 2012

Summer Jewelry Love

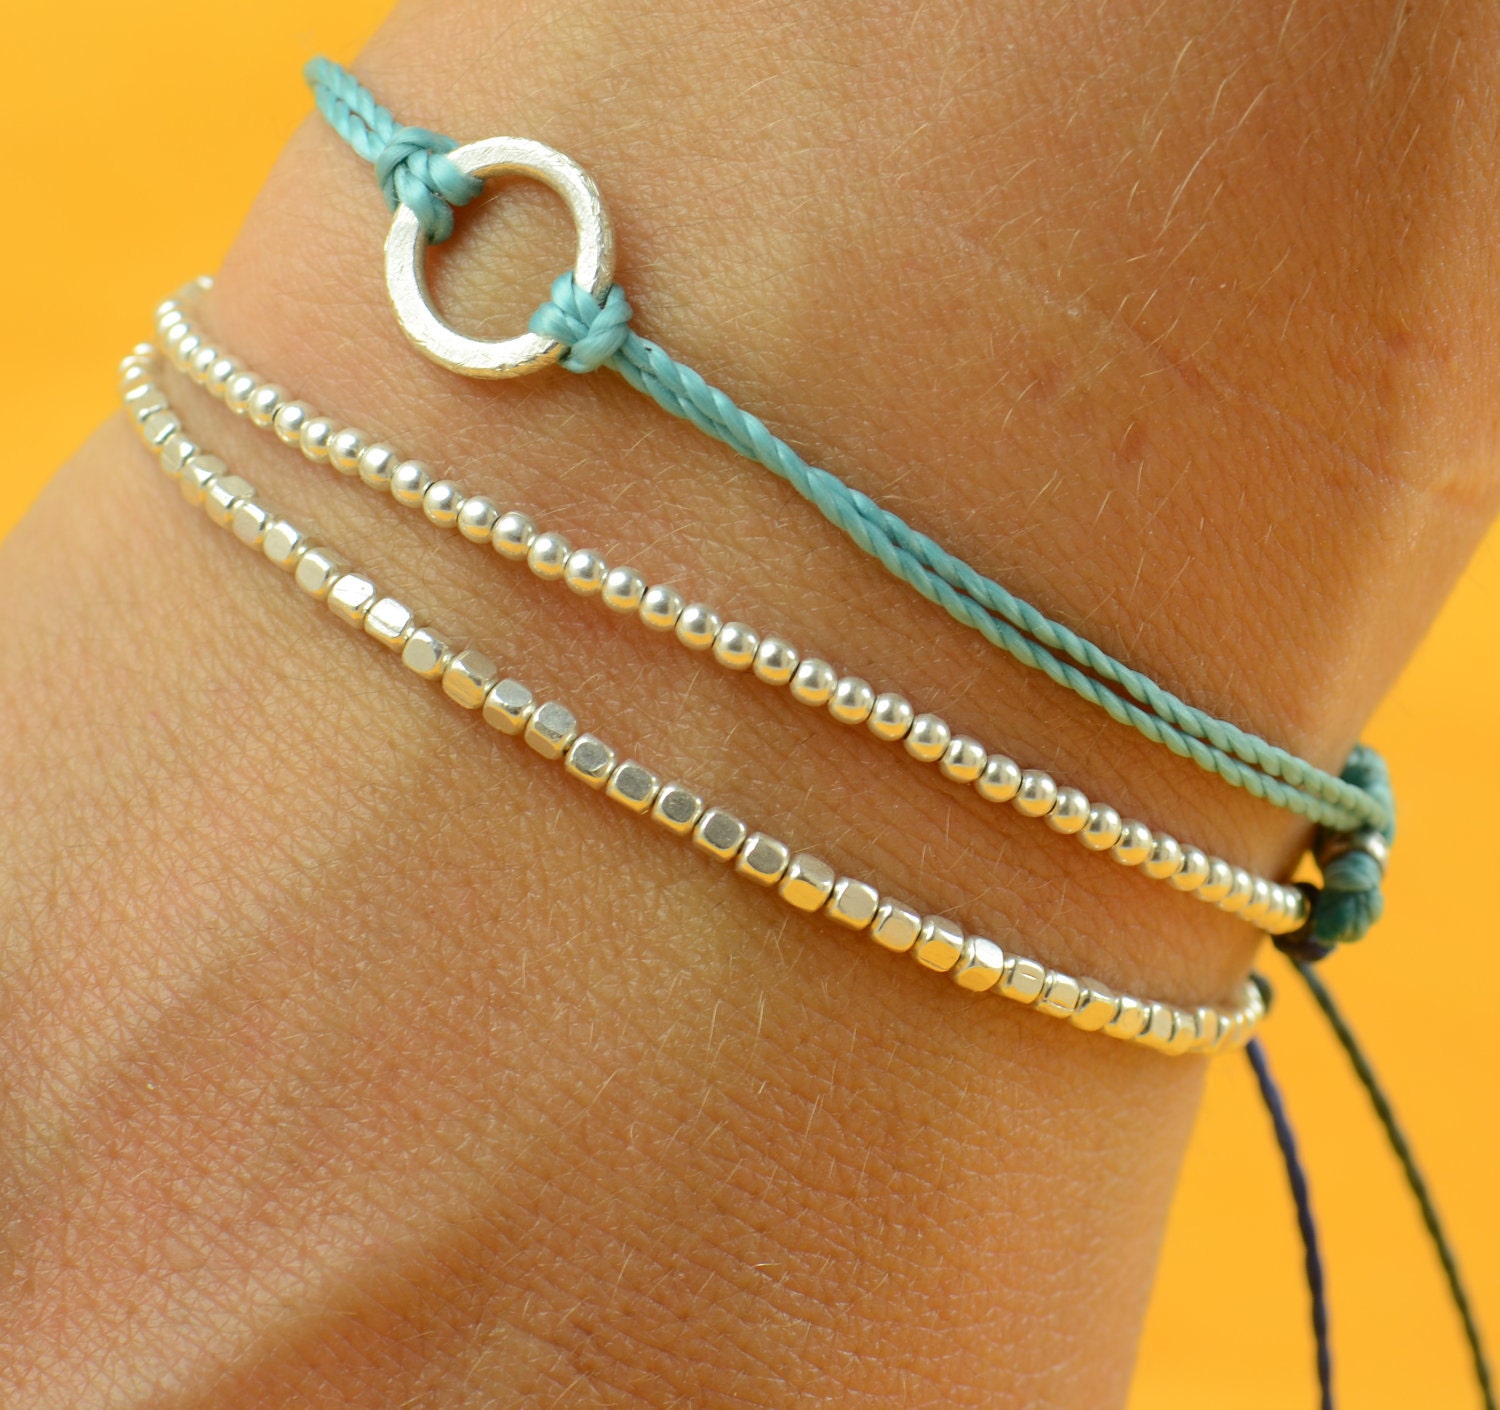
Mr. T is over taking suggestions from my BFF when it comes to gifts...for Mother's Day I secretly wanted this...

Pinned Image

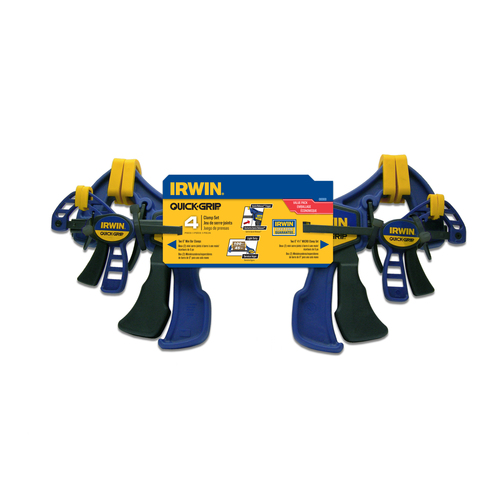
but instead, I received this...

Zoomed: IRWIN 4-Piece Micro and Mini Clamp Set

...and to be honest, while I didn't exactly want a clamp set for Mother's Day...I could use one and will probably be thankful for them soon. Not to mention the price difference between the two...

But back to the subject...recently I've noticed a ton of really great bracelets on Etsy. They are all so cute, it proves you don't have to spend a lot of money on jewelry. Here are a few of my favorites:

Pinned Image

Pinned Image

Beads. Sterling silver bracelet

Some of these would be easy to DIY, others...not so much. I am trying to get Marlene to open an Etsy store, but the conversation went like this:


I really didn't get very far convincing her of a store before she had moved on to diamonds...her specialty. I'm batting zero these days when it comes to the art of persuasion. Maybe I need to sharpen my skills...

Rachel :)
Pin It

Tuesday, May 29, 2012

The Dutch Door

I've been noticing a lot of these recently...and they are making my heart beat a little faster...

Pinned Image

Pinned Image

Pinned Image

Pinned Image

Pinned Image

Pinned Image
I'm trying to convince Mr. T how great a dutch door would be leading out the kitchen...so far my attempts have been less than stellar. Our handy dandy contractor was over this afternoon for a different project (more on that later) and when I tried to convince him how much I needed a dutch door. His response was..."well, you have a saw..."

Rachel :)
Pin It

Thursday, May 3, 2012

Recreating a $500 Wooden Sculpture

Pinterest. Ugh. Not only does it make my mind race with a million ideas, it was the source where Marlene found a wooden sculpture she fell in love with. A $500 wooden sculpture. Seriously.

Pink Door Decor

So for her birthday a few weeks ago...I (as in not really me, but Marlene) decided that I could recreate this and make it for her for much less. I can't complain...it's wonderful to have friends that believe in you more than you believe in yourself.


Mr. T bought a jigsaw for me for Christmas that was still in the box, so this was the perfect opportunity to break it in. After putting the blade in backwards, I did more than break it in, I almost broke it and cut my finger off when I made my first cut. It didn't take long and after a few cuts I was ready to go. I made a 12" pattern to use for each "petal" and used a cabinet grade 3/4 inch plywood.


After cutting and sanding with an 80 grit followed by a 220 grit, I used MinWax Weathered Oak to stain the petals.


I cut the base from a two inch thick piece of old wood, sanded it down, and stained it with Special Walnut followed with a second coat of Ebony.


The petals were put together with wood glue and held in place overnight with clamps...no nails or screws, which makes this two sided...yay! I cut a wooden dowel rod to hold it in place and used my wonderful Porter Cable Forstner Drill Bit Set to drill all the holes for the dowels. If you don't have this set, get it...it rocks my socks! After everything was dried and drilled it was ready to put together...


And again the $500 original...


And my $11 creation...


Happy Birthday Marlene!!!

Rachel :)
Pin It

Monday, April 30, 2012

DIY Cake Pop Stand


It's been a few months...but what can I say...spring means baseball, ballet, school plays, and lots and lots of fun stuff to do! I'm still working on a few DIY projects, and today I have a quick, fun project to bring you. A few months ago, a friend asked me to help her with a birthday party she was giving. A grownup, "non-cheesy" birthday party. She wanted a dessert table set up with a stand large enough to hold a variety of cake pops (yummmmm) and miniature cones filled with mousse...

I took two unfinished, different sized bar stool seats...a large one for the bottom, a smaller one for the top and measured where I wanted the holes. The drilled size of the holes for the cake pops turned out to be perfect...easy to get them in and out, yet small enough to hold them up straight. Make sure to not drill these holes all the way through. That way you can pick up the stand without them falling though. I marked an extra pop stick with a line on how deep I wanted them to sit and used it as a guide when drilling the holes. This ensured they would all sit at the same height.

The miniature cones on top needed large holes that went through the wood. I used a drill bit from a Porter Cable Forstner Bit Set (best purchase ever) to drill these holes. When I was done drilling, everything was sanded, primed, and put together using a large candle pillar from Hobby Lobby (it was bright green in its former life). The finished product was sprayed in Antique White (one of my favorite colors) and distressed using Special Walnut stain.

When the cake pops arrived from the bakery (carrot cake in white chocolate and red velvet in chocolate), I trimmed an inched off the sticks of the white ones to create two tiers on the bottom stand. The miniature cones were filled with a variety of mousses (after I snapped this picture) and the dessert table was complete!


Yummy!!!

Rachel :)

sorry for the complete lack of pictures...i seem to be on the fly recently, only snapping pictures with my cell phone. email me with any questions!
Pin It

Wednesday, March 14, 2012

DIY Jeans...Keeping the Original Hem


Last week I did something I almost never do...went shopping. For clothes. For me. Not my favorite thing to do (who needs to buy clothes when your best friend keeps you stocked), but Shannon managed to drag me to the mall for an hour of fun at The Gap. It also helps that her sister works there...which equaled a nice discount.

One hour, a few dollars, and some major dressing room meltdowns later, I walked out with a bag full. Two needed purchases: new jeans. I'm not really sure who they make jeans to fit, but it definitely isn't me. And it really stinks to spend money on clothes to turn around and have to have them altered. But, at the end of the day, the jeans were really long. As in way toooooooo long. So I decided to pull out the sewing machine and try to hem them myself. And to keep the original hem. There's nothing worse than a pair of badly hemmed jeans...well, there are a lot of things worse, but you get the idea...

Step 1: Determine the length you want your new inseam to be. Subtract it from the old inseam. Divide the difference by 2. For me this was 32-29=3. 3 divided by 2 = 1.5

Step 2: Make a cuff the size of your number and iron it down.


Step 3: Turn the pants leg inside out and stitch along the orinigal hem.


Step 4: Stitch up the side to prevent the cuff from falling down.


Step 6: Turn jeans right side out and press.


Some people might cut the excess fabric off. Because I didn't have that much, I decided to stitch the sides up and keep it. New clothes are awesome. New clothes that fit are even better. Especially when alterations were $0!

Rachel :)


Pin It

Monday, March 12, 2012

Living Room Feature

After a much needed hiatus, I'm back with a few new ideas and projects going on! Today we are being featured on Remodelaholic...so head on over there and check it out!!

Happy Monday to you!!

Rachel :) Pin It